WiMo?! What’s a WiMo?
It means: Wheatstone inside, Müller outside - meaning the sound is provided by the Wheatstone’s reeds/reed pan, but the User Interface - the end boxes, are made by me, hopefully making it an instrument I can play with ease and with a very good sound.
The original bellows is 5 folds, so I do expect to run out of air, but that I leave that problem until later.
Wood
The 1909 instrument is metal-ended, but I decide, out of curiosity, to make wooden ends for this. I want it to take a minimum of time, so the choice of wood is easy: Finnish aircraft plywood, 3 mm. Colour? Henry Ford’s favourite: black.
Hex frames
The hex frames... hmm - nothing comes for free: the instrument is not 6” or 6 ¼” - it’s 6 3/16”. Wonderful.
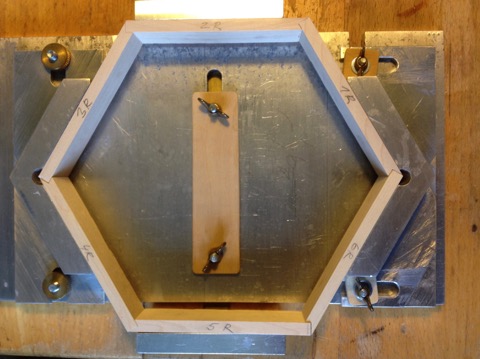
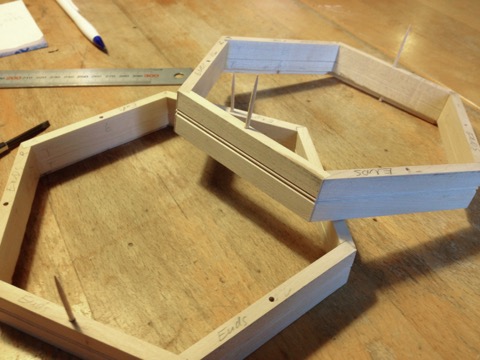
Luckily, my hex frame gluing jig don’t mind the size (before I glued, I had routed out room for the base plate in what would become the bottom frame):
Split the frames
But I need a new jig, a jig I haven’t had the need for earlier. Since I have chosen wooden sides, the hex frames need to be divided in two parts - the bottom part for the action (levers, buttons, springs) and the top for the end plate. Building four separate half-height frames is out of the question - they’ll never fit properly.
Split frame jig
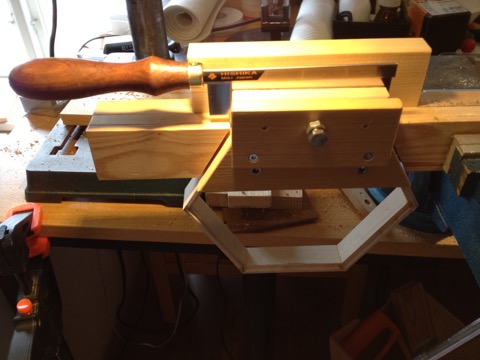
It takes a day or two to make, and it works fine. I do one side at a time, with a Japanese 0.3 mm saw. The screw & nut on the jig can adjust the juuust-right pressure on the saw. The result:
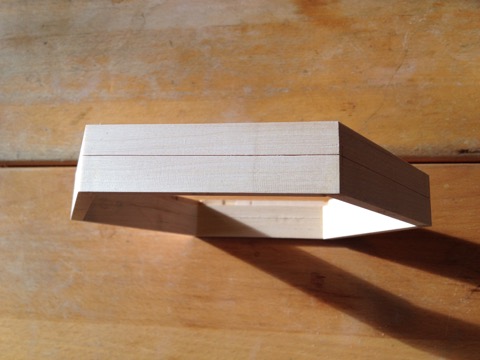
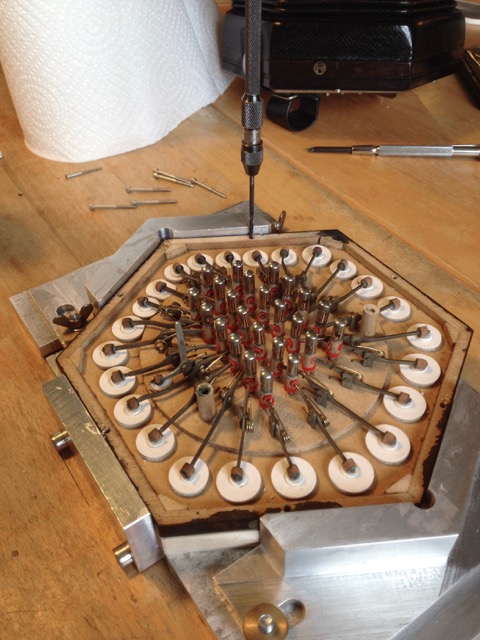
It’s hard to see that it’s two separate parts. Then I use the gluing jig and the original base plates to mark the holes for the end bolts:
Now we only need a little cosmetic 45° routing, to camouflage the division:
Next Previous