This has been one of the things I’ve been nervous about. From the beginning, I planned to make a tool that would crimp one edge at a time, involving an arbor press and a top part and a bottom part.
Until I saw my mate Bill Crossland’s crimp tool that consisted of a hex-shaped, heavy steel plate with a hex-shaped hole in, and a bottom part it could be screwed onto. A thin, hex-shaped plate, slightly smaller, would give “the raise”. Into a big vice, and squeeze the sides, one by one.
That set me off to do almost the same, only without the vice - screws instead:
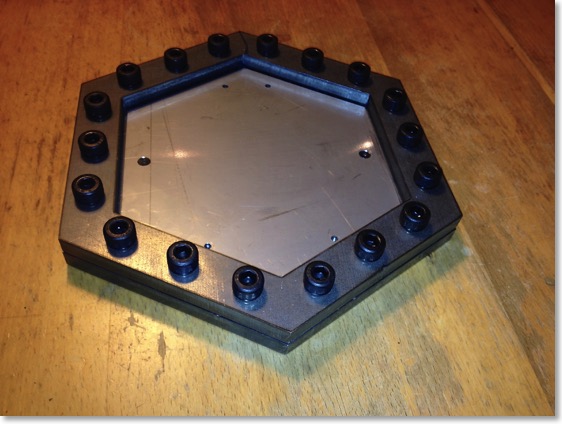
Top and bottom are 10 mm steel, laser cut by the fine company that did my reed frames. The smaller, thin plate in the middle, is 1 mm stainless steel. After using it once (vertically in a vice), I realized that it would be easier to mount it directly on the table:
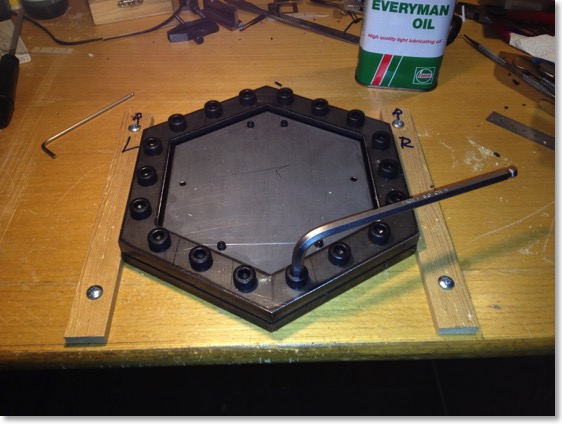
Setting up
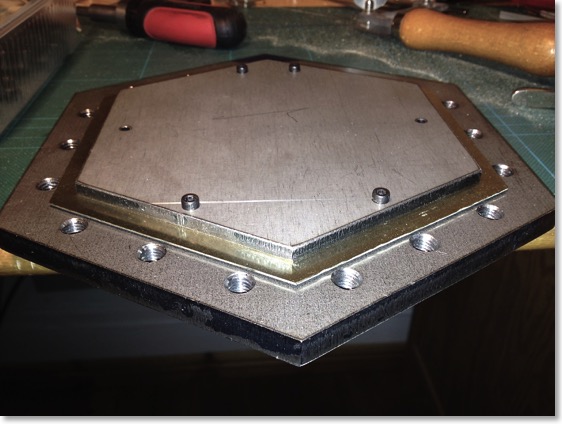
The roughly cut end (0.7 mm German silver) has four guide holes, placed where there will be “air” in the fretwork. On top of it is screwed a 5 mm steel plate - this will hold the end flat, ensuring that there will be no “raising” close to the crimp. I don’t know if that really is a risk, I just want to be sure to prevent it.
Drops of oil in the corners and on the edges and then tighten, tighten, tighten...
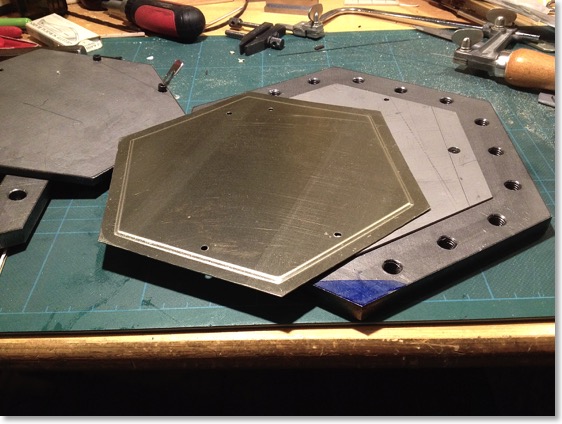
Woohooo! I’ve been waiting years for this!
Next: cutting the fretwork. Should be fun...
Next Previous