I mean it! It will be fun! Because it is so different from the last time I did it, in 2006. Here’s why:
1) I can now see what I am doing - I have bought extra eyes.
2) I have changed the drawing so that the cut-away is black (last time I had a curve/line defining the areas. Could never make up my mind - left of the line, right of the line, on the line?
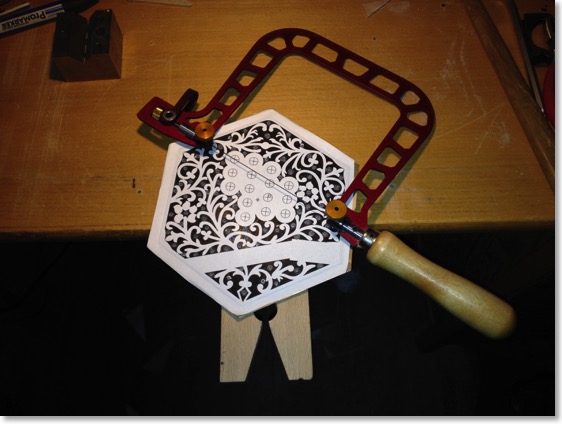
3) I have bought a space-age saw - it seems to be made of air, absolutely brilliant!
Preparing
Now, the end is not flat anymore - I just crimped it, yes? So I’ve glued a piece of 2 mm plywood on the inside, filling up the “raised” hex-shape. This lifts the metal off the sawing support, making the whole thing stable. The drawing is printed and glued onto the end, guided by four guide holes:
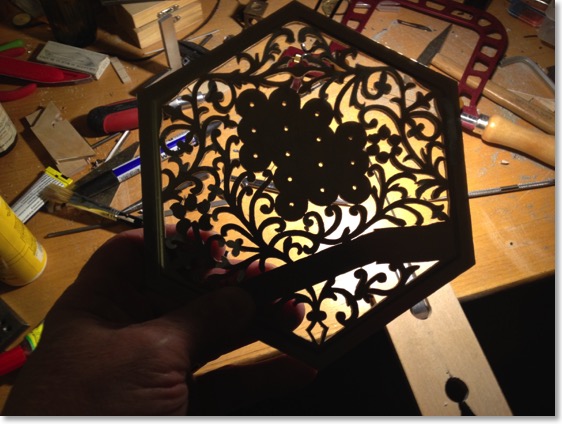
The left side - freshly cut. It will need cleaning up the various rough edges, etc.
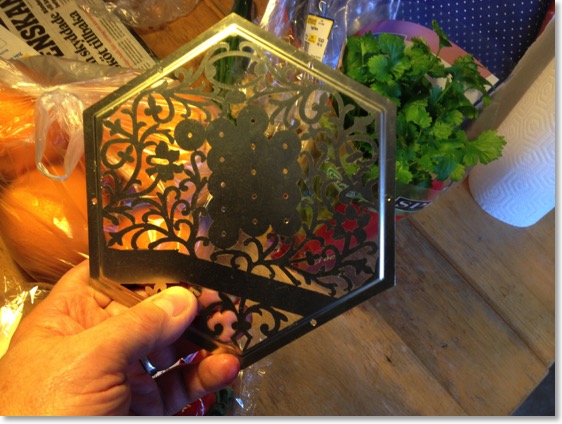
Left side, roughly polished. The slot in the “flower” is for the air button (lever). Even though it is prepared for in the reed pan, I’ve decided to wait - there are more important stuff to do and time is flying. High-gloss polishing can wait as well.
Next Previous