The bushing boards are 3 mm aircraft plywood:
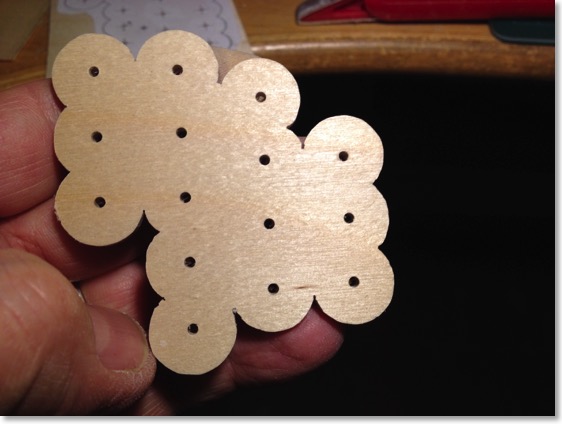
It’s important to get “the sequence of holes” right:
1) A rough hex shape of 1 mm plywood was placed inside the “hex crimp” as support for marking and drilling.
2) The papers with the fretwork layout were glued onto the crimped ends.
3) The holes for the buttons were marked (center punch) on the ends and drilled (2 mm).
4) The crimped ends were placed on their respective end boxes, held by the 2 x 6 end bolts dropped through the holes
5) With the end plates as guides, 4 mm deep 2 mm holes were drilled into the action board (3 mm aircraft plywood glued onto the bottom of the end boxes)
So! Everything fits now! Next steps are:
- The button holes drilled to full size (determined by a trial “end”, with a trial “bushing board” with the (woven) red felt in)
- The holes in the action board can be drilled to take the buttons tips.
The buttons? No pencil caps this time - I bought buttons from Jürgen Suttner. They may be a bit too long, but I can’t think about that now - there’s no time.
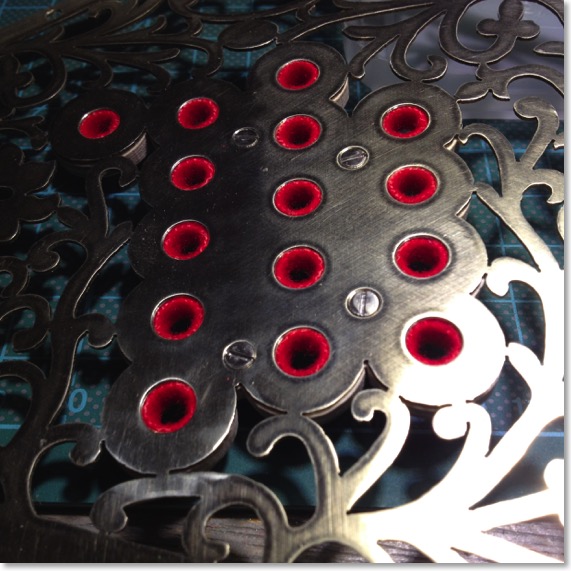
Testing the bushing board -
Next Previous